Git for Beginners: Basics and Essential Commands
“Simple Git Commands That Every Developer Should Know”
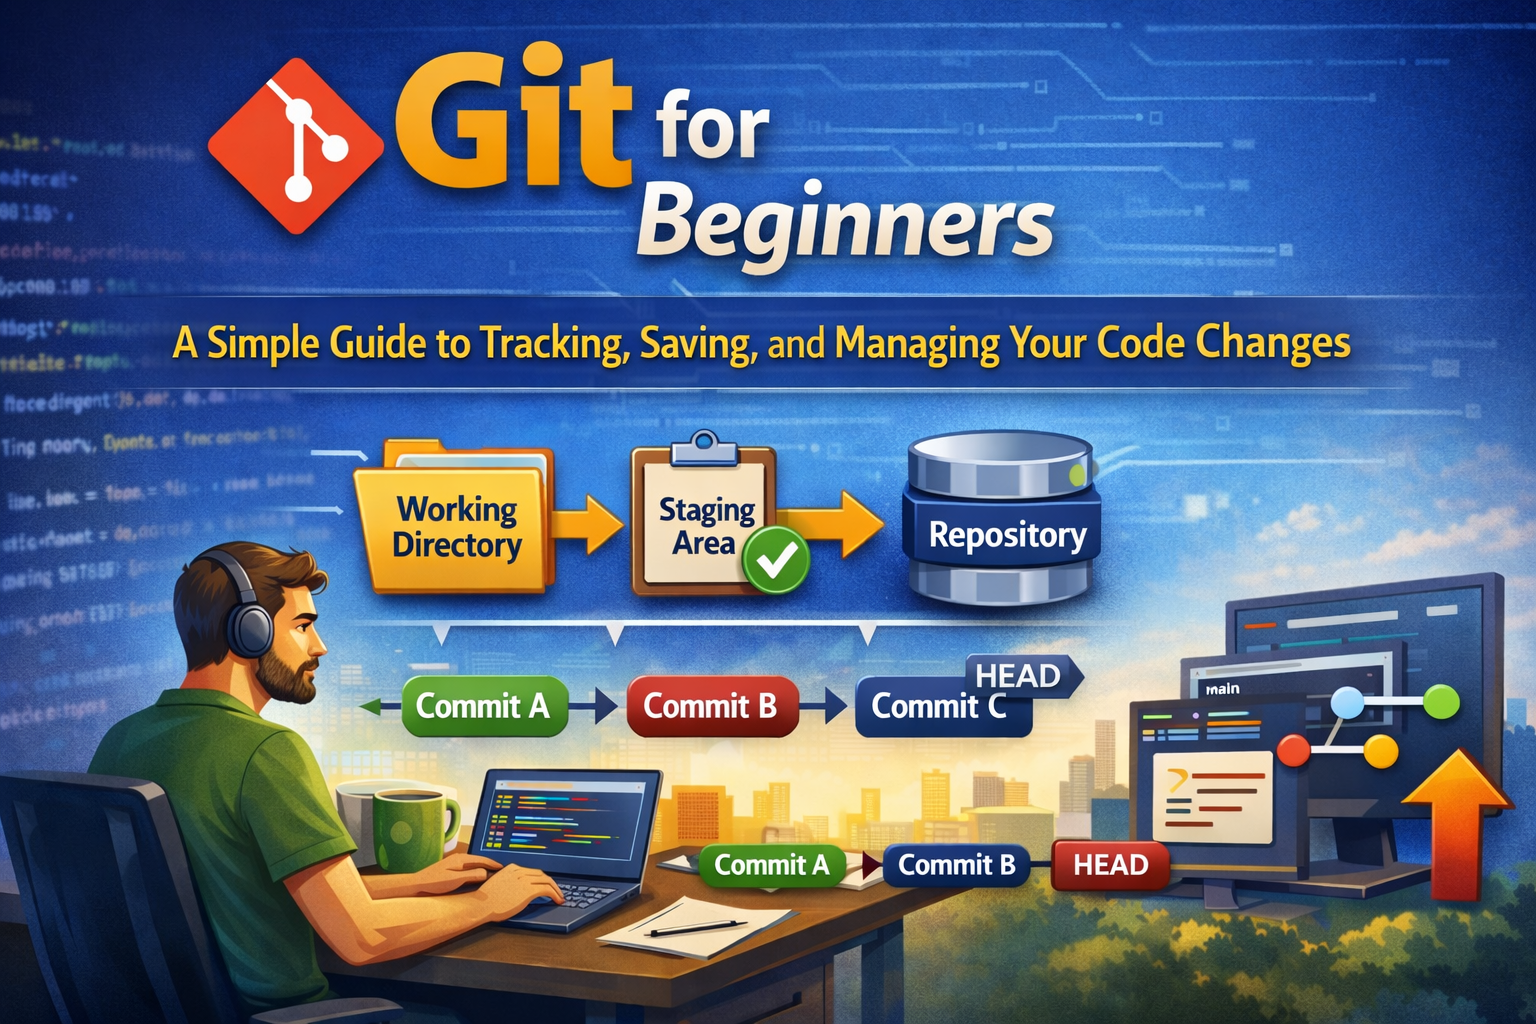
When we write code, we rarely get everything perfect on the first try. We add features, fix bugs, experiment, and sometimes break things. Imagine if we could go back to any previous version of our project at any time, or work on new ideas without affecting our main code.
That’s exactly what Git helps you do.
What is Git?
Git is a distributed version control system.
In simple words, Git is a tool that:
Tracks changes in our files over time
Let’s we save snapshots of our project
Allows us to go back to older versions whenever needed
“Distributed” means every developer has a full copy of the project history on their own machine, not just a single central server.
Think of Git as a super-powered undo system for your entire project.
Why Git is Used:-
Git is used to:
Keep a history of all changes
Collaborate with other developers safely
Experiment using branches without breaking the main code
Revert mistakes easily
Understand who changed what and when?
Without Git, you might end up with files like:
  project_final.js
  project_final2.js
  project_final_real.js
  project_final_latest.js
With Git, you just use one project and let Git manage all versions internally.
Git Basics and Core Terminologies:-
Before using commands, understand these core ideas:
Repository (repo)
A project folder that Git is tracking.Working Directory
The actual project files that we edit.Staging Area
A waiting area where we prepare changes before saving them.Commit
A saved snapshot of our project at a point in time.Branch
A separate line of development (like a copy where we can try new things).HEAD
A pointer to our current commit/branch.
How changes move inside Git:-
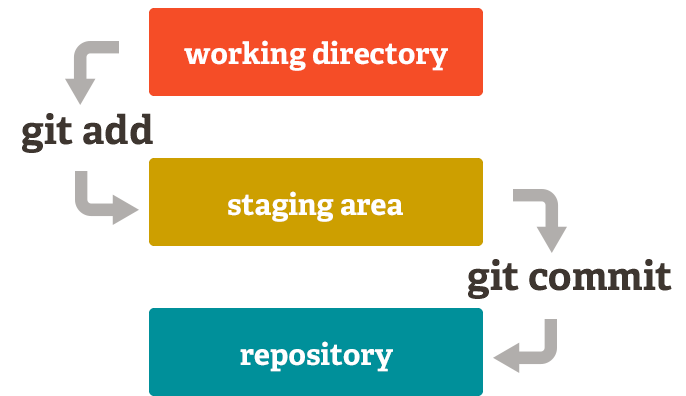


You edit files in the working directory
You select changes using
git add→ goes to staging areaYou save them using
git commit→ stored in the repository
Setting Up Git in a New Project:-
Start inside your project folder:
git init
Common Git Commands:-
Check status
git status
Add files to staging
Add one file:
git add filename.txt
Add everything:
git add
Save a commit
git commit -m "Write a clear message about what changed”.
Each commit is like a checkpoint in your project history.
View commit history
git log
Shows a list of all commits with IDs, author, and messages.
See changes before committing
git diff
Shows line-by-line changes in files.
A Basic Developer Workflow:-
Create or open a project folder
Initialize Git
git init
Create or edit some files
Check what changed
git status
Stage the changes
git add
Commit the changes
git commit -m "Initial project setup"
Continue editing, adding, and committing as you build features
This cycle repeats every time you make meaningful progress
Understanding the Local Repository Structure:-
1 Your normal files live in the project folder (working directory)
2 Git stores all history and metadata inside the hidden .git folder
3 Commits are stored as objects linked together forming history
You usually never edit .git manually, Git manages it for you.
How Commit History Flows:-
Each commit points to the previous one, forming a chain.
New commits are added on top
HEADpoints to the latest commit of the current branchYou can move back to any older commit if needed
Core Concepts:-
Edit files → working directory
git add→ move to staging areagit commit→ save snapshot in repositorygit log→ view history.


